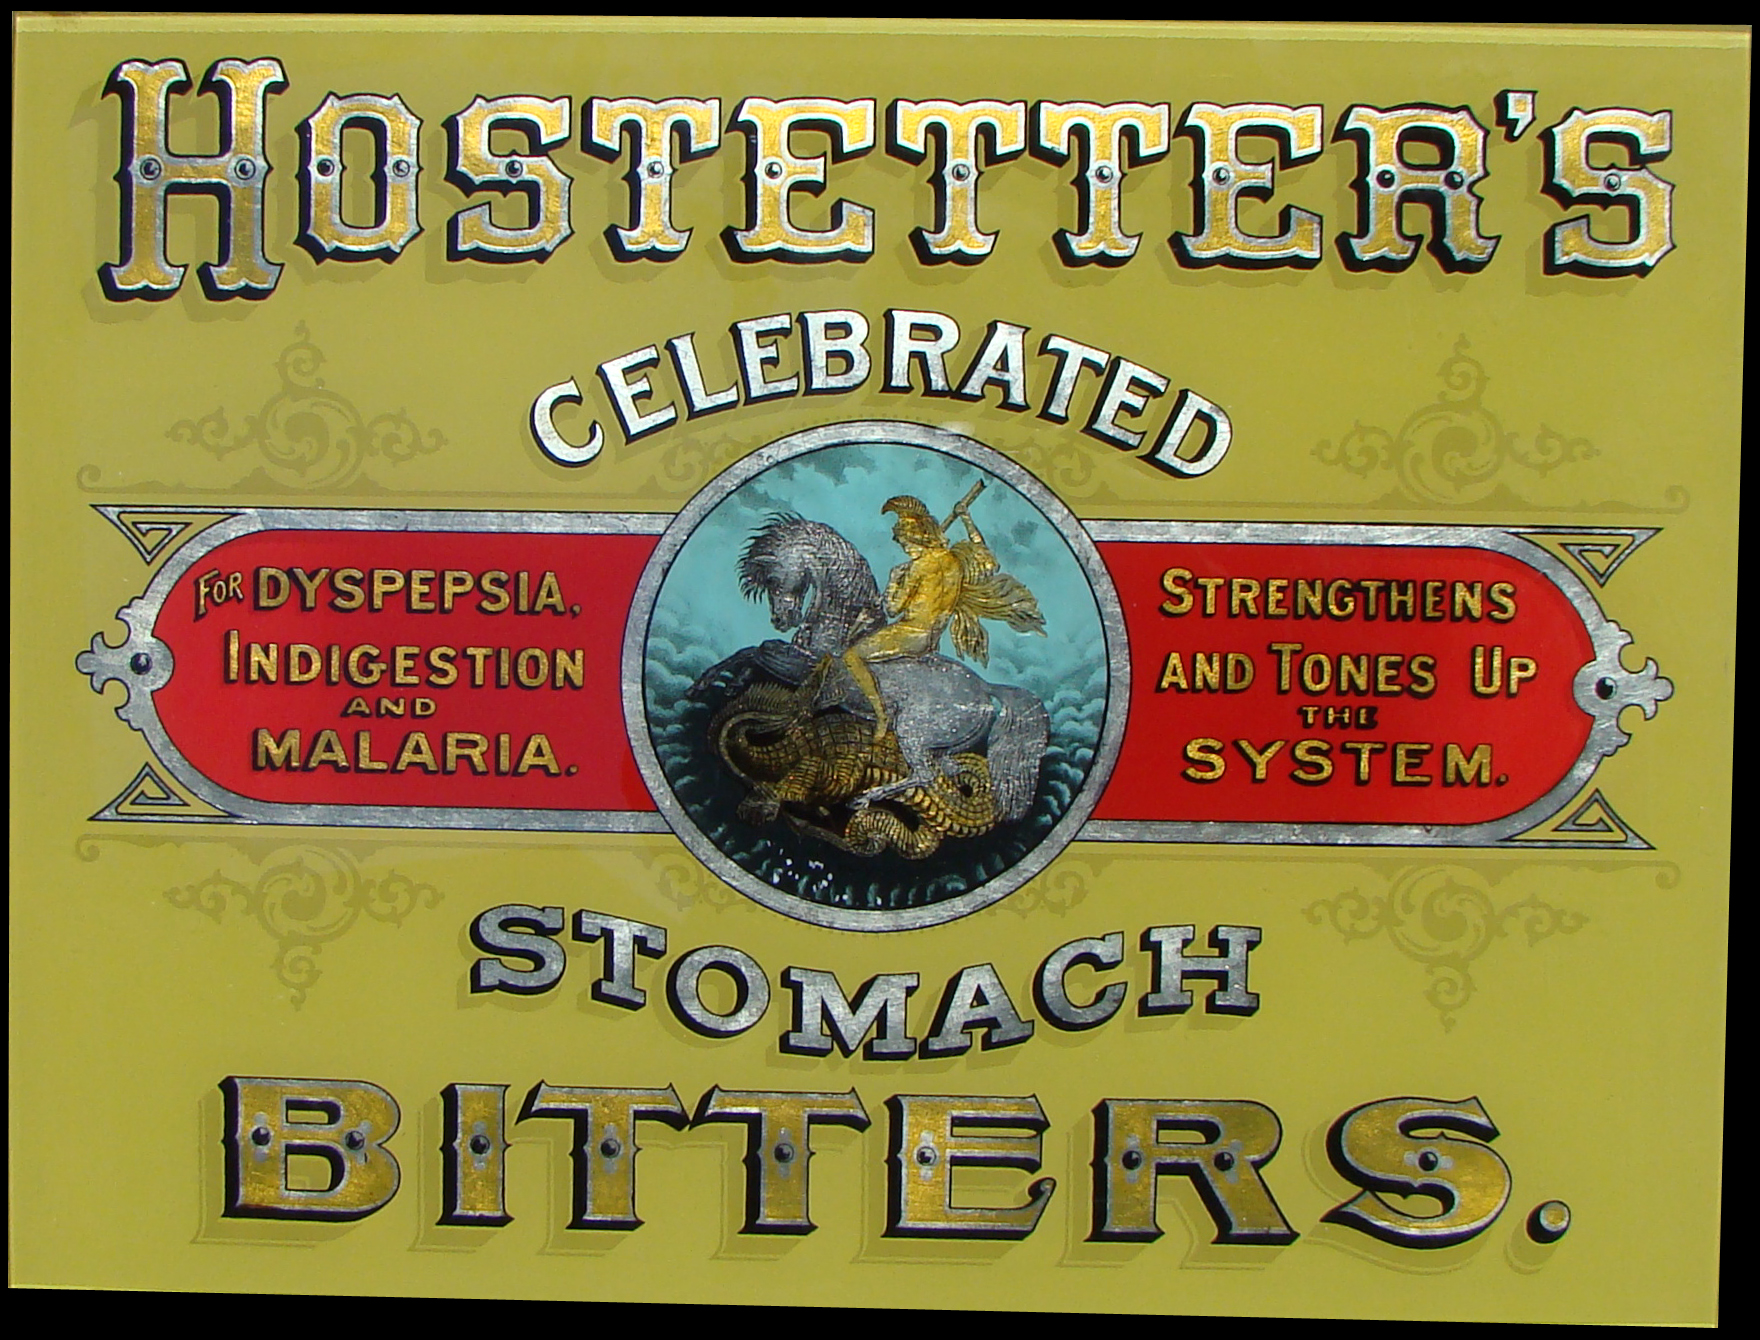
Decalcomania-A-tutorial-how to-decals
Decals are some of the earlier methods of mass producing a message or advertising via the printing press. A friend of mine Don Coplen was asking me about a Technique that Rick Glawson would use when Gilding out of the shop. Instead of Silk-screening onsite, he would print his black paint lines onto water transfer material at his shop so as to not have all of the mess and Clean-up at the job site. Once transferred and dry the rest of the gilding could take place as normal. This process can lend itself to completing the entire job in shop, and then just a install of decal on job site. This is a great way to do it and requires practice, but if the decal tears and doesn't push back together you'll have to make another.
French definition: décalcomanie, from dēcalquer, to transfer a tracing, de-, off, from from Latin dē-; see de- + calquer, to trace; see calque, manie, craze (19th century popularity)
1st you need glossed or enameled paper. You can Paint butcher paper with enamel.
2nd spray on several coats of a mix of dish soap/glycerin/rubbing alcohol, this is the water based layer that will separate from the paper later when installing wet.
3rd spray on several coats of a clear(Clear Lacquer, Varnish, Poly Urethane. This layer of clear is now your thin glass layer to paint on.
4thLetter all of your work, even the gilding and color if you want.
5th now the work is all finish we clear-coat several more later, we must Sandwich the Paint/gild/art between Clear to protect the work because it’s so thin.
So here are the layers in order, Paper, Enamel, Soap, CLEAR, paint, CLEAR.
Now after curing is complete, trim around the edges so it look neat.
Now soak in water,soap loosens from enameled paper(enamel keeps paper from breaking apart as back-bone).
The soap glycerin is a release and also the glue/size (like water gold size) that adhere the decal in place.
So Rick Glawson was just repeating the Palms process, but with a modern thermal or silk screen ink.
I far as I know I’m the only one to take this to the next step. The problem has been the dpi and for Rick some pixelation issues because the hardware and software wasn’t quite there. When ever high quality printers are used. even Archival Giclee printers all bleed and loose detail like the sand stone texture marks on a lithograph get lost.
I created a process called the “Percell Decal Process”.
I’ve created a Chemical Top coat that won’t bleed when printed upon, now I can Reproduce Historic Lithographs in full glorious color with Pigmented Archival inks for durability. All of the detail can be repaired at a level the Antique Collectors can't even tell using a Jewelers Glass.
As far as it goes,the Vellum is just around and works like enameled paper, or you could even do it on waxed paper by painting latex onto some vinyl liner paper, then do your pictorial,when dry, apply oil gold size to the window and your graphic, when both dry and are still tacky, attach to glass as you would for Vinyl lettering, then carefully pull the Wax paper liner off and it should release from the wax paper.
More to come.
Ron Percell
There are no products to list in this category.
