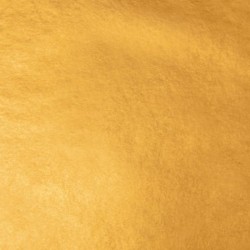
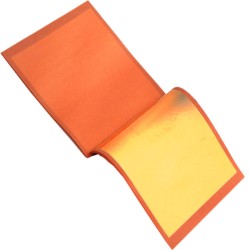
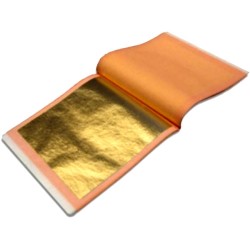
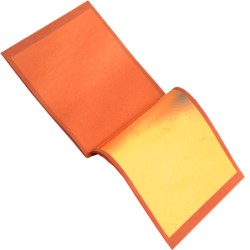
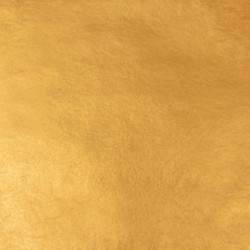
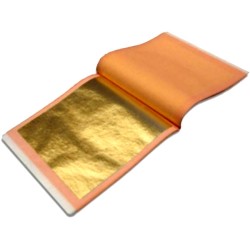
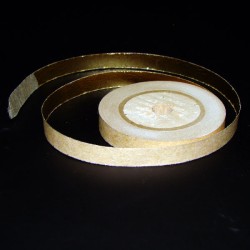
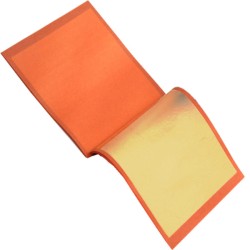
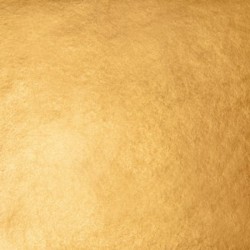
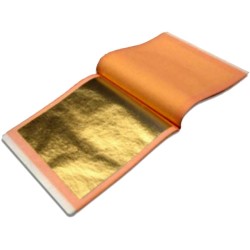
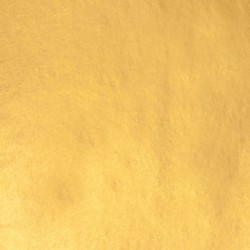
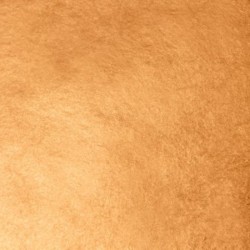
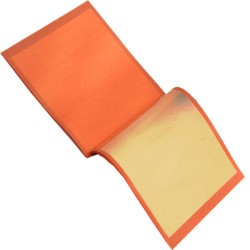
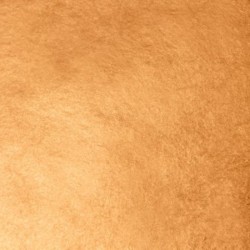
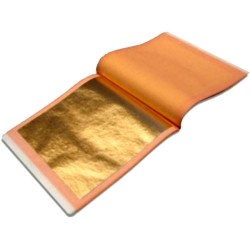
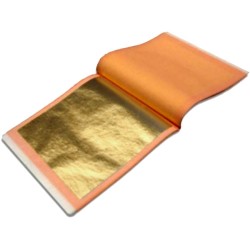
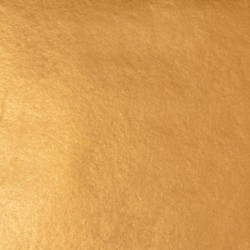
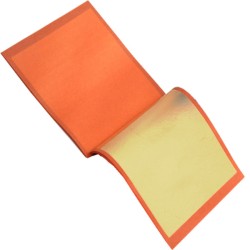
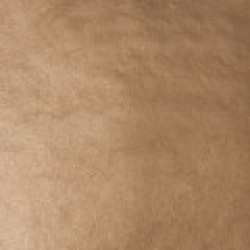
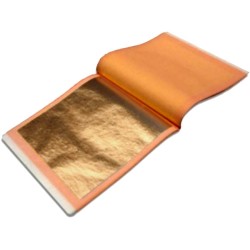
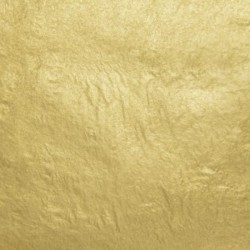
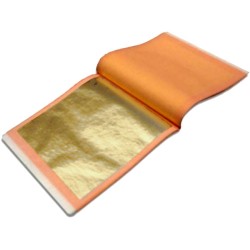
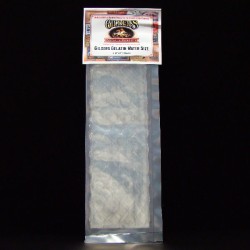
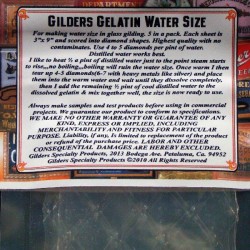
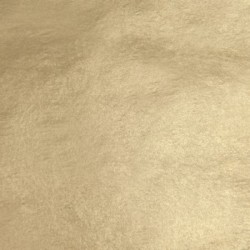
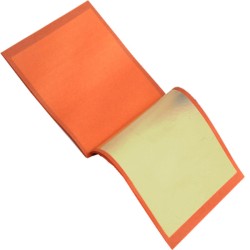
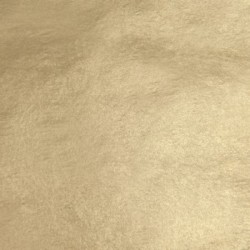
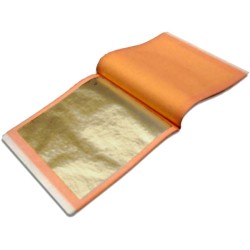
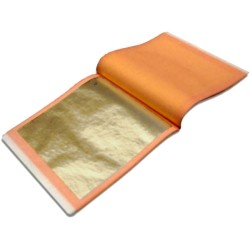
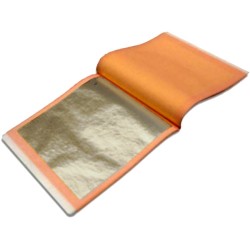
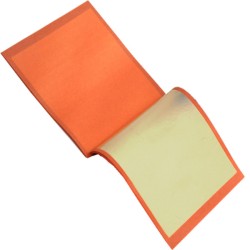
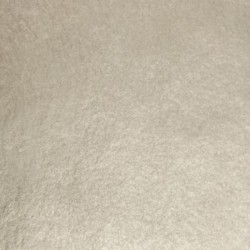
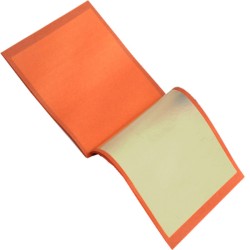
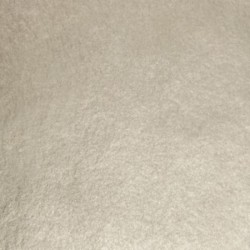
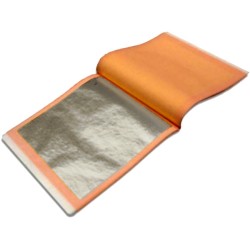
24kt Gold Leaf
23.75kt Gold Leaf
23.50kt Gold Leaf
23kt Gold Leaf
22kt Gold Leaf
18kt Gold Leaf
16kt Gold Leaf
13.25kt Gold Leaf
12kt Gold Leaf
6kt Gold Leaf
Gold Leaf Application
Welcome to the fascinating world of gold leaf application! If you're an artist looking to add a touch of luxury and elegance to your artwork, then gilding with gold leaf is worth exploring. In this comprehensive guide, we will cover the basics of gilding and teach you various techniques in applying gold leaf to your creation. Whether you're a beginner or an experienced artist, this guide has something for you.
Key Takeaways
- Gold leaf application adds a touch of luxury and elegance to artwork.
- Gilding involves applying thin sheets of gold or silver leaf to a surface using techniques such as water gilding and oil gilding.
- Proper surface preparation with gold size is crucial for adhesion of the gold leaf.
- Burnishing and finishing touches enhance glow and the beauty of the gold leaf and add exquisite details to the artwork.
- Gold leaf can be incorporated into various art forms, including signage mixed media, calligraphy, furniture, and sculpture.
The Beauty of Gold Leaf
Gold leaf is a timeless material that has been used for centuries to exude luxury and elegance in art. It boasts a unique quality that draws the viewer's eye to its luster and elevates the artwork it adorns to a new level of beauty.
The gilding process involves applying gold leaf to a surface using a specialized adhesive, known as gold size or sizing. When done correctly, the result is a stunning and striking piece of art that commands attention. The art of gilding has been passed down through generations and remains a popular decorative technique to this day.
What makes gold leaf so exquisite is its ability to reflect light in a way that other materials cannot. This is due to the unique way in which it is manufactured, with gold being pounded into incredibly thin, delicate sheets that can be applied to nearly any surface. The result is a luminous, reflective surface that adds depth and dimension to any artwork.
Whether it's used to accentuate intricate details or to create bold, dramatic statements, gold leaf is a versatile material that can be used in various artistic applications. From ornate calligraphy to stunning sculptures, the beauty of gold leaf can be found in many forms.
Getting Started with Gold Leaf
If you're new to gold leaf application, getting started can be overwhelming. Fear not, we've got you covered! Let's first explore the essential tools and materials you'll need for your gilding journey.
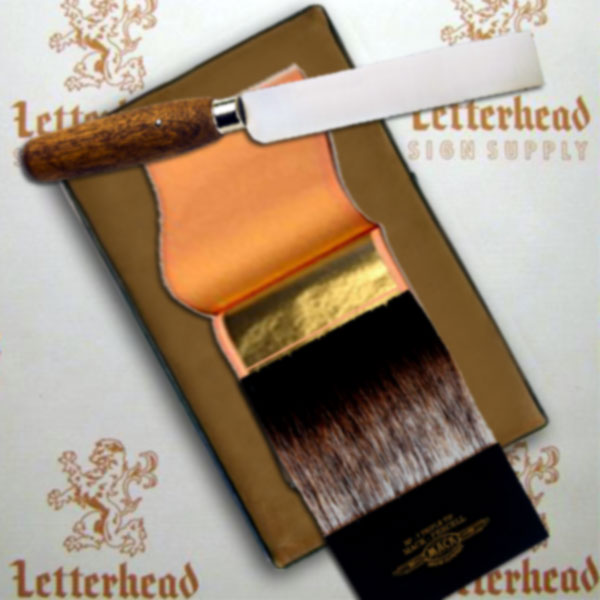
ToolsFlat gilders tip brush
Gilding cushion pad
Gilding knife to cut smaller
Gilders Gold Leaf Dusting Mop for gently removing excess gold or silver leaf, also help push gold into tight or small areas.
Gloves (white cotton) if you'll be handling the gold
Gilding Cotton (medical grade to avoid scratching)
Engine Turning Burnishing Tools
Materials
Gold, Silver, Brass or Copper leaf sheets
Gold size adhesive (oil based or water based)
Gilding varnish (optional)
Gilders Shadow Kaolin dust for resist to keep gold from sticking to areas you do not want when oil gilding.
additional edducation
Gold Leaf application Books (optional gold leaf information).
Gold Leaf Surface Prep
Before applying gold leaf, it's important to choose the right type. There are different karat weights and colors available, and some are better suited for certain types of artwork.
When applying gold leaf, it's essential to use the correct gilding technique. Traditional water gilding is a complex and time-consuming technique, but it produces a beautiful and long-lasting result. Oil gilding is a more straightforward process, but it's not as durable.
Prepare the Surface
The surface texture will impact the final results.
A dry surface like raw wood may absorb your size and leaf will not hang
on. Gold leaf can be applied to various surfaces, including wood,
metal,
canvas, and paper. However, the preparation process will differ
depending on the surface. For example, wooden surfaces must be sanded
and sealed with a primer before applying gold size. Smooth surfaces work
well such as glass, metal, enameled or plastics.
Keep in mind that the smoother the surface, the better the gold leaf will adhere. It's also important to ensure that the surface is clean and free of dust before applying the gold size.
Now that you have a better understanding of the tools, materials, and surface preparation, you're ready to start your gold leaf application journey!
Preparing the Surface for Gold Leaf
Proper surface preparation is crucial before applying gold leaf. Failure to adequately prepare the surface can result in the gold leaf not adhering correctly. Here are the steps you should follow:
Step 1: Clean the Surface
Ensure that the surface you will be applying the gold leaf on is clean and free from any dust, debris, or oils. Use a soft cloth to gently remove any dirt or residue.
Step 2: Apply Gold Size
Oil Gold size is a special adhesive that is specifically designed for surface gilding. Apply Gilders Shadow Kaolin using pad included, then blow off excess, this will help you see where you are applying oil size and keep the gold from sticking where you don't want it to. Using a brush, apply the gold size evenly onto the surface you wish to gild. Avoid applying too much, as this can cause the gold leaf to wrinkle. Gold size usually takes around 30 minutes to dry.
Step 3: Check Tackiness
Once the Gold size is setup (tacky), make a sample next to your work
that you can touch it without touching the surface your gilding. check
its tackiness by touching the sample to the side with your finger. It
should feel slightly sticky but not come off the surface onto
your finger, then push hard on the sample to see if it's still wet under
a tacky skin, it should be tacky all the way through. If your oil size
is drying too fast, move to the shade or a cooler room and or use a oil Gold size that is slower. Slower Oil Based Gold Sizes make for a
better-brighter glow.
Step 4: Apply Gold Leaf
Place the gold leaf onto the tacky surface using a gilders tip brush or
gold attached to wax paper or use patent leaf which is attached to
tissue paper. Use a soft brush to press
the gold leaf onto the surface and remove any flaps or air bubbles.
Once you
have covered the surface with gold or silver leaf, use a soft Gilders
dusting mop brush to gently
brush away the excess gold leaf, avoid cotton at this point, it may get
in any open ares not covered with gold or silver and ruin the gild. Once
everything has been covered, you may use cotton or a burnishing tool to
blend the seams away and enhance the glow. Burnishing must be done
while gold size is still tacky (called Open) for best results. Don't
wait until the next day because you just be scratching gold and possible
off, especially when engine turning.
Step 5: Seal the Gold Leaf
After the gold leaf is applied and the gold size is dry (called Closed), it is essential to seal it to protect
it from oxidation and tarnishing. Apply a clear coat, varnish or a sealer over
the gold leaf to protect it from damage if it might be touched.
By following these simple steps, you can prepare the surface for gold leaf application successfully to last. Keep in mind that different surfaces may require different types of preparation, so be sure to do your research before beginning.
Applying Gold Leaf
Now that you have prepared your surface, it's time to learn the gold leaf techniques for applying gold leaf. There are several methods to choose from, including water gilding and oil gilding, each with its unique advantages and challenges.
Water Gilding
Water gilding is the traditional method of applying gold leaf and is often used for intricate designs and details. It involves applying a layer of "gold size," a type of adhesive made from rabbit skin glue or gelatin, to the surface. Once the size is applied, allow it to dry until it becomes tacky, but not wet. Then, carefully place the gold leaf onto the surface, using a soft brush to smooth it out and remove any air bubbles.
Next, use a piece of cotton or gilder's mop to gently press the gold leaf onto the surface, a process known as "burnishing." This will create a smooth, burnish finish that glows and help the gold leaf adhere securely to the size. Once the gold leaf is burnished, you can apply a layer of shellac or varnish to protect the surface and enhance the gold's luster.
Oil Gilding
Oil gilding is a modern method of applying gold leaf that involves using an oil-based adhesive instead of gold size. The result is a more durable and flexible finish that can be used on a variety of surfaces, including metal and glass.
To begin, apply a layer of oil-based adhesive to the surface and allow it to dry until it becomes tacky. Then, carefully place the gold leaf onto the surface, using a soft brush to smooth it out and remove any air bubbles.
Use gilder's mop to gently press the gold leaf onto the surface, and then allow it to dry completely. Once the gold leaf is dry, use a stiff brush to remove any excess gold leaf and reveal the design underneath. Finally, apply a layer of varnish or lacquer to protect the surface and enhance the gold's shine.
With these techniques, you can achieve stunning results with gold leaf and bring a touch of luxury to your artwork.
Burnishing and Finishing Touches
After applying the gold leaf, it's time to enhance its luster and add some finishing touches to your artwork. Burnishing is a crucial step in this process, there are different types, clay bole water gilding involves using a tool such as an agate burnisher or a piece of silk to gently rub the gold leaf surface. Sign painters and Pinstripe artists use a engine turning burnisher.to produce circular burnish that amplifies the gold leafs glow as on fire engines with real gold leaf This process tightens the gold leaf and brings out its shine, making it smoother and more reflective.
It's essential to avoid applying too much pressure when burnishing, as this can damage the delicate gold leaf. Instead, use a light touch and work carefully over the entire surface, paying particular attention to any spots that may need extra attention.
Once the burnishing is complete, you can add some additional details to your artwork to make it truly unique. You can use various tools to add texture, such as a stylus or template, or even add some color by painting on top of the gold leaf with transparent or opaque pigments.
Finally, it's time to protect your artwork with a suitable sealant. This will help prevent dust and grime from accumulating on the gold leaf surface and will preserve its shine. Choose a sealant that's appropriate for the surface you're working on, such as a varnish for wood or a spray sealant for paper or canvas.
With these simple techniques, you can create a stunning gold leaf artwork that exudes luxury and elegance. So go ahead, let your creativity shine, and add the timeless beauty of gold leaf to your artistic repertoire.
Troubleshooting Common Issues
Applying gold leaf requires patience and precision, but even the most experienced gilders may encounter common issues. Here are some troubleshooting tips:
Problem: Gold Leaf is Not Adhering to the Surface
Possible Causes:
- The surface was not properly prepared or cleaned before applying the gold leaf.
- The gold size was not applied evenly or thoroughly.
- The gold leaf was applied too late after the gold size dried.
Solution:
- Make sure the surface is clean and free of dust and debris before applying the gold size.
- Apply the gold size evenly and allow it to dry to "Tack" completely before applying the gold leaf.
- Apply the gold leaf while the size is still tacky and not completely dry.
Problem: Wrinkling or Buckling of the Gold Leaf
Possible Causes:
- The gold leaf was not applied smoothly or evenly.
- The surface was not completely flat, resulting in buckling when the gold leaf was applied.
Solution:
- Apply the gold leaf slowly and smoothly, using a soft brush or tool to press it down onto the surface.
- Make sure the surface is completely flat and smooth before applying the gold leaf.
Problem: Uneven or Spotty Appearance of the Gold Leaf
Possible Causes:
- The gold leaf was not applied evenly or thoroughly.
- The gold size was not applied evenly or thoroughly.
- The surface of the object was not smooth and caused the gold leaf to appear spotty.
Solution:
- Apply the gold size evenly and allow it to dry completely before applying the gold leaf.
- Apply the gold leaf slowly and evenly, using a soft brush or tool to press it down onto the surface.
- Make sure the surface is smooth and clean before applying the gold leaf.
By following these troubleshooting tips, you can overcome common issues and achieve stunning results with your gold leaf application.
Advanced Gilding Techniques
Are you ready to take your gold leaf application skills to the next level? In this section, we'll explore advanced gilding techniques that will elevate your artwork and allow you to create stunning textures and finishes.
Decorative Finishes
Decorative finishes involve using various materials to create unique patterns and textures on the surface of your gold leaf artwork. For example, you can use a feather to drag through the gold size while it's still wet to create delicate lines and curves. Alternatively, you can use a stiff brush to create more pronounced textures. Experiment with different tools and materials to achieve the desired effect.
Patination
Patination is another advanced technique that involves adding a layer of patina to your gold leaf artwork. This process creates a weathered, antique look that can add depth and character to your piece. There are many products available for patination, such as liver of sulfur or copper sulfate. Apply the patina to your gilded surface and then buff away the excess to reveal a beautiful, aged finish.
Combining Techniques
Advanced gilding techniques can also be combined to create truly unique effects. For example, you can apply a layer of patina to your gold leaf artwork, and then use a stiff brush to create a textured, weathered surface. The possibilities are endless, and experimentation is key to discovering new and creative ways to work with gold leaf.
With these advanced gilding techniques, you can add a whole new dimension to your artwork and create truly stunning pieces that will stand the test of time.
Exploring Different Art Forms with Gold Leaf
Gold leaf is a versatile material that can be used to add a touch of luxury to various art forms. Let's take a look at some of the creative ways you can incorporate gold leaf into your artwork.
Mixed Media
Gold leaf can be combined with other materials such as paint, paper, and fabric to create mixed media pieces. Experiment with layering different textures and colors to add depth and dimension to your artwork.
Calligraphy
Gold leaf is a popular choice for calligraphy due to its elegant and timeless appearance. Use it to embellish letters, borders, or entire pieces to add a touch of sophistication to your calligraphy work.
Hand Lettering
Gold leaf is a popular choice for hand lettering due to its elegant and timeless appearance. Use it to embellish letters, borders, or entire pieces to add a touch of sophistication to your hand lettering work.
Pinstripes
Gold leaf has been added to pinstriping for years onto cars, boats, trucks and motor cycles.
Furniture
Transform ordinary furniture into exquisite pieces by adding gold leaf accents. Apply gold leaf to table edges, chair legs, or drawer fronts to create a stunning focal point in any room.
Sculpture
Gold leaf can also be used to enhance the beauty of sculptures. Experiment with different techniques to create unique textures and finishes that will make your sculptures truly stand out.
Whether you're working with custom graphics mixed media, calligraphy, furniture, or sculpture, gold leaf is a versatile material that can elevate your artwork to the next level.
Caring for Gold Leaf Artwork
After investing time and effort into creating your stunning gold leaf artwork, it's important to properly care for and maintain it to prevent damage or fading over time. Here are some tips to ensure your gilded creations remain in top condition:
Cleaning Gold or Silver Leaf
When it comes to cleaning gold leaf artwork, gentle is always the way to go. Avoid using harsh chemicals or abrasive materials that could scratch or damage the fragile surface. Instead, lightly dust the artwork with a soft, dry cloth or use a soft brush to gently remove any dirt or debris. For more stubborn stains, use a damp cloth with a mild soap solution and pat dry immediately afterward.
Protection for Gold or Silver Leaf
To protect your gold leaf artwork, it's important to keep it away from direct sunlight and moisture. Exposure to sunlight can cause the gold leaf or silver leaf to fade over time, while moisture can cause damage or discoloration. Store your artwork in a dry, cool place and cover it with a UV-resistant glass or acrylic sheet to protect it from sunlight and dust.
Gold leaf Display
When displaying your gold leaf artwork, choose a location that is away from direct heat sources, such as radiators or fireplaces, and avoid hanging it in a humid or damp area. If you're using a frame, make sure it fits properly and securely to prevent any movement or shifting that could cause damage to the delicate gold leaf surface.
Gold Leaf Maintenance
Regular maintenance can help to ensure the longevity of your gold leaf artwork. Check your artwork periodically for any signs of damage or deterioration and address any issues promptly. Consider using a professional conservation service for more extensive repairs and maintenance.
By taking proper care of your gold leaf artwork, you can preserve its beauty and value for years to come. Remember to clean gently, protect from sunlight and moisture, display in a suitable location, and maintain regularly.
Conclusion
Gold leaf application is a fascinating process that can add a touch of luxury and elegance to your artwork. From understanding the basics of gilding to exploring advanced techniques and applications, we hope this comprehensive guide has given you the inspiration and confidence to start your own gilding journey.
Remember, proper surface preparation and application techniques are crucial for achieving smooth and flawless results. If you encounter any common issues during the process, don't worry - troubleshoot them with our helpful tips.
Once your gold leaf artwork is complete, it's important to care for it properly to ensure its longevity and beauty. Follow our tips on cleaning, protecting, and displaying your gilded creations.
Final Thoughts
Gold leaf is a timeless material that has been used for centuries to create grand and opulent works of art. With its unique beauty and versatility, it can be incorporated into various art forms from mixed media to calligraphy, furniture, and sculpture.
We hope this guide has provided you with a comprehensive overview of gold leaf application and inspires you to explore its possibilities. So go ahead, start your gilding journey today and let your creativity shine with the alluring and timeless beauty of gold leaf!
FAQ
What is gold leaf application?
Gold leaf application, also known as gilding, is the process of applying thin sheets of gold onto surfaces to create a decorative and luxurious effect.
What are the different techniques used in gold leaf application?
Some common techniques used in gold leaf application include water gilding, oil gilding, and adhesive gilding.
What is gold size?
Gold size is an adhesive that is used to adhere the gold leaf onto the surface. It comes in various forms, such as water-based or oil-based.
Is gold leaf only used in artwork?
No, gold leaf can be used in various art forms, including mixed media, calligraphy, furniture, and sculpture.
How do I prepare the surface for gold leaf application?
Surface preparation is essential for proper adhesion. Depending on the surface material, preparation may involve sanding, priming, or applying a layer of gold size.
What are some common issues that may arise during gold leaf application?
Common issues include wrinkling or tearing of the gold leaf, poor adhesion, or uneven application. Troubleshooting tips will be provided to help you overcome these challenges.
How do I care for gold leaf artwork?
To care for your gold leaf artwork, it is important to avoid direct sunlight, dust regularly, and avoid using harsh chemicals or abrasive cleaning agents.
Can I combine gold leaf with other art techniques?
Yes, you can combine gold leaf with other techniques and materials to create unique effects and textures in your artwork.
Where can I find the necessary tools and materials for gold leaf application?
Art supply stores or online retailers specializing in art materials will have a wide range of tools and materials specifically for gold leaf application.
How long does it take for the gold leaf to dry and set?
The drying and setting time can vary depending on the type of adhesive used. It is recommended to follow the manufacturer's instructions for the specific product you are using.
Can gold leaf be used on outdoor surfaces?
Gold
leaf is element from outdoor, it is susceptible to
weathering, fading and to acids similar to what you see when your
wearing cheap jewelry or with a high amount of silver, tarnishing can
occur. The Rule is if it's below 8 feet clear coat the gold, above 8
feet, most people cant touch it and transfer acids and oils.
There are no products to list in this category.

